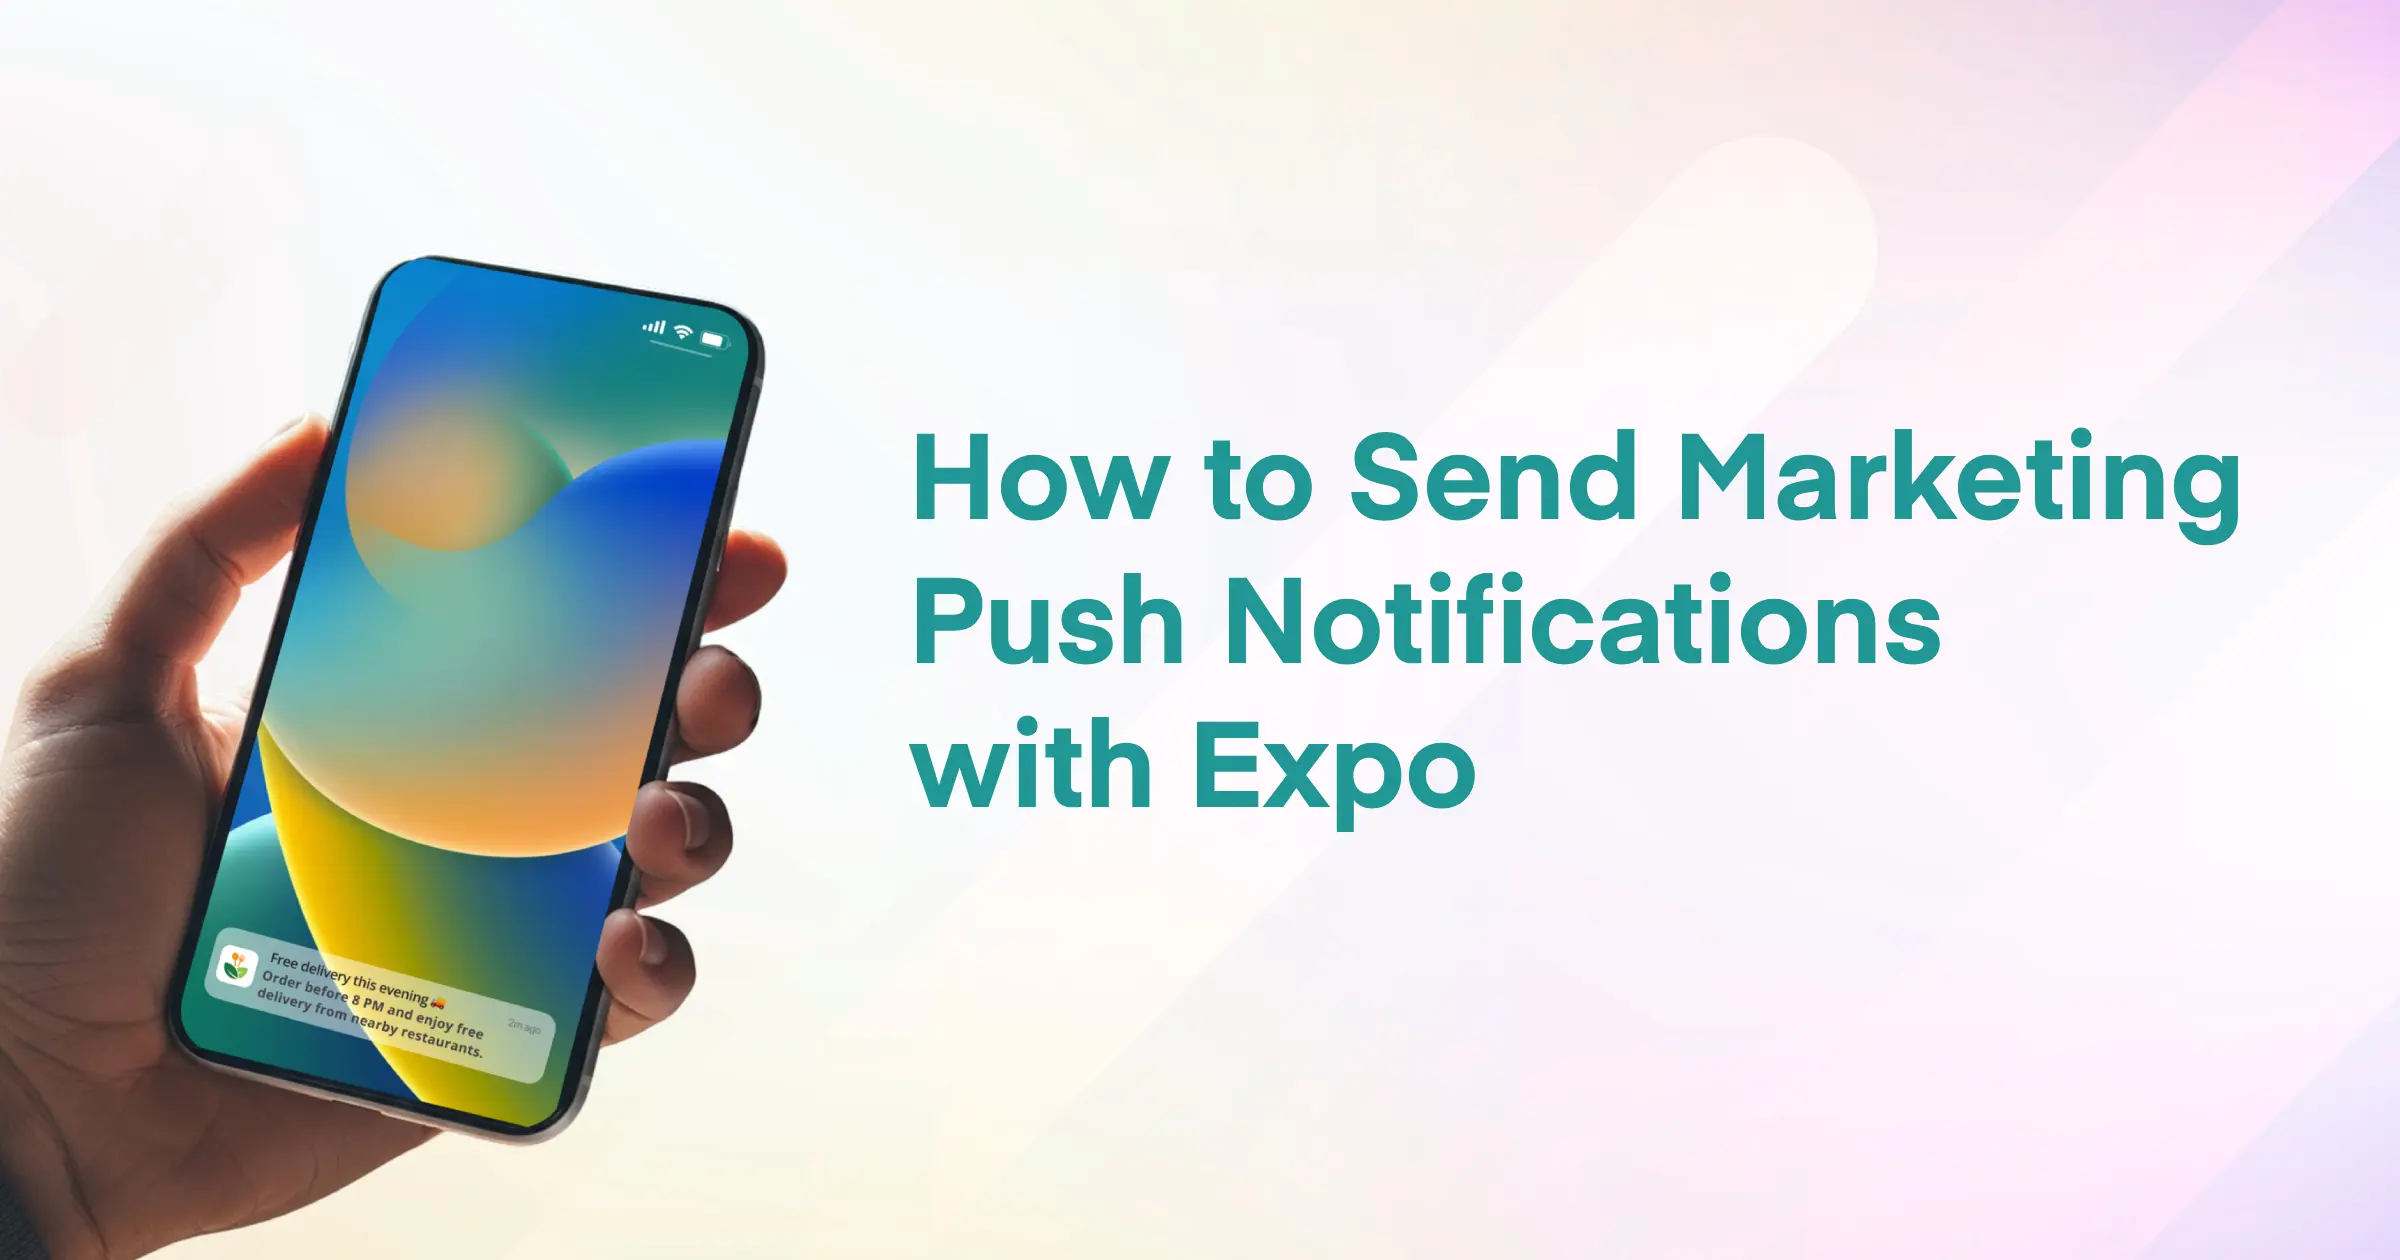
After publishing your app to the app stores, it’s important to keep users engaged. When used effectively, notifications help app developers:
Increase Retention and Bring Users Back
Most apps lose many users within the first 3 days. Notifications help keep users engaged by:
- Bringing them back: reminding users why the app is useful.
- Reducing churn: reconnecting with users who have not opened the app for a few days.
- Building habits: encouraging daily actions like learning, exercise, or checking updates.
Make Notifications Personal and Relevant
Good notifications are not random messages. They are based on user behavior and interests.
- Behavior-based: sending reminders about items left in a shopping cart.
- Context-aware: sharing weather updates or nearby suggestions.
- User choice: letting users choose topics they want to receive, which builds trust.
Improve Conversion Rates
Notifications are one of the fastest ways to drive action and sales.
- Create urgency: using limited-time offers or low-stock alerts.
- Easy action: sending users directly to checkout or a feature page with one tap.
Improve User Experience
Notifications are also useful for helping users, not just selling.
- Real-time updates: shipping updates, flight delays, or breaking news.
- Instant confirmations: payment success or file upload completed.
- User education: helping new users learn how to use the app step by step.
In this article, we will focus on marketing or promotional notifications. These are messages sent to many users at once, often grouped by specific filters such as language, device platform, region, behavior, and more.
Understanding the Expo Notifications Ecosystem
Originally, push notifications on mobile are handled by Firebase Cloud Messaging (FCM) for Android and Apple Push Notification service (APNs) for iOS. These can be tricky for new developers to set up.
Expo makes it easier with two main tools:
- expo-notifications – a React Native package that helps your app receive and manage push notifications.
- Expo Push API – a simple API to send notifications to one or many devices.
Even with these tools, you still need to do a few things yourself: keep track of users’ devices, save their push tokens, and decide when and to whom to send notifications.
Subscribe the device for Push notification
Device subscription means letting a user’s device receive push notifications and saving its push token so you can send notifications later.
Before subscribing a device, you need to set up FCM for Android and APNs for iOS. Expo provides clear step-by-step instructions for this setup in their documentation.
Subscribe to Expo Push Notification
To get push notifications working on a device, we use Expo Notifications. Below is a simple example showing how to register a device and get its push token
import { useState } from "react";
import { Text, View, Button, Platform } from "react-native";
import * as Device from "expo-device";
import * as Notifications from "expo-notifications";
import Constants from "expo-constants";

Notifications.setNotificationHandler({
  handleNotification: async () => ({
    shouldPlaySound: false,
    shouldSetBadge: false,
    shouldShowBanner: true,
    shouldShowList: true,
  }),
});

export default function App() {
  const [expoPushToken, setExpoPushToken] = useState("");

  const handleSubscribeToPushNotification = async () => {
    const pushToken = await registerForPushNotificationsAsync();
    if (pushToken) {
      /* Push token is available, Save it on your database */
      savePushToken(pushToken);
      setExpoPushToken(pushToken);
    }
  };

  return (
    <View
      style={{
        flex: 1,
        alignItems: "center",
        justifyContent: "space-around",
      }}
    >
      <Text>Your expo push token: {expoPushToken}</Text>

      <Button
        title="Subscribe a to push notification "
        onPress={handleSubscribeToPushNotification}
      />
    </View>
  );
}

async function registerForPushNotificationsAsync() {
  let token;

  if (Platform.OS === "android") {
    await Notifications.setNotificationChannelAsync("myNotificationChannel", {
      name: "A channel is needed for the permissions prompt to appear",
      importance: Notifications.AndroidImportance.MAX,
      vibrationPattern: [0, 250, 250, 250],
      lightColor: "#FF231F7C",
    });
  }

  if (Device.isDevice) {
    const { status: existingStatus } =
      await Notifications.getPermissionsAsync();
    let finalStatus = existingStatus;
    if (existingStatus !== "granted") {
      const { status } = await Notifications.requestPermissionsAsync();
      finalStatus = status;
    }
    if (finalStatus !== "granted") {
      alert("Failed to get push token for push notification!");
      return;
    }
    // Learn more about projectId:
    // https://docs.expo.dev/push-notifications/push-notifications-setup/#configure-projectid
    // EAS projectId is used here.
    try {
      const projectId =
        Constants?.expoConfig?.extra?.eas?.projectId ??
        Constants?.easConfig?.projectId;
      if (!projectId) {
        throw new Error("Project ID not found");
      }
      token = (
        await Notifications.getExpoPushTokenAsync({
          projectId,
        })
      ).data;
      console.log(token);
    } catch (e) {
      token = `${e}`;
    }
  } else {
    alert("Must use physical device for Push Notifications");
  }

  return token;
}

async function savePushToken(pushTokeng) {
  /* The push token must be linked to the current user to identify who should receive notifications */
  const user = {
    firstName: "James",
    lastName: "Madison",
    id: 987654,
    pushToken,
  };
  /* Store user's push token for notification delivery */

  // fetch("/user",{method:"PUT",body: JSON.stringify(user)})
}Push Notification to devices
Once a device is registered and its push token is stored in your database, you’re ready to start sending notifications to specific users.
Expo makes this easy by providing a REST API for sending push notifications to one or many devices. This part usually runs on your server, and you can build it with any backend language you prefer.
async function getDevicePushTokens() {
  /* Implement logic to get push tokens from your database
   * We mocked response data for the sake of simplicity
   */

  return [
    "ExponentPushToken[xxxxxxxxxxxxxxxxxxxxxx]",
    "ExponentPushToken[xxxxxxxxxxxxxxxxxxxxxx]",
    "ExponentPushToken[xxxxxxxxxxxxxxxxxxxxxx]",
  ];
}
async function sendPushNotification() {
  const targetDeviceTokens = await getDevicePushTokens();

  const message = {
    to: targetDeviceTokens,
    title: "Update to our Terms & Policy",
    body: "Review latest updates ....",
  };

  try {
    const response = await fetch("https://exp.host/--/api/v2/push/send", {
      method: "POST",
      headers: {
        "Content-Type": "application/json",
      },
      body: JSON.stringify(message),
    });

    const data = await response.json();
    console.log("Push response:", data);
  } catch (error) {
    console.error("Error sending push notification:", error);
  }
}

/* send push notification */
sendPushNotification();
Successful push notification marketing goes beyond just sending alerts. To drive engagement, you need analytics for delivery and open rates, deep links that take users directly to the right screen, smart scheduling for perfect timing, and more.
With Pushbase, you get a lightweight SDK to register devices effortlessly, along with a powerful dashboard to create, schedule, and launch campaigns in just a few clicks.