Push notifications are one of the most effective ways to keep users engaged with your mobile app. They allow you to send timely updates, reminders, or alerts directly to a user’s device, even when the app isn’t open. For Expo developers, setting up push notifications is straightforward thanks to Expo’s built-in tools.
What Are Push Notifications?
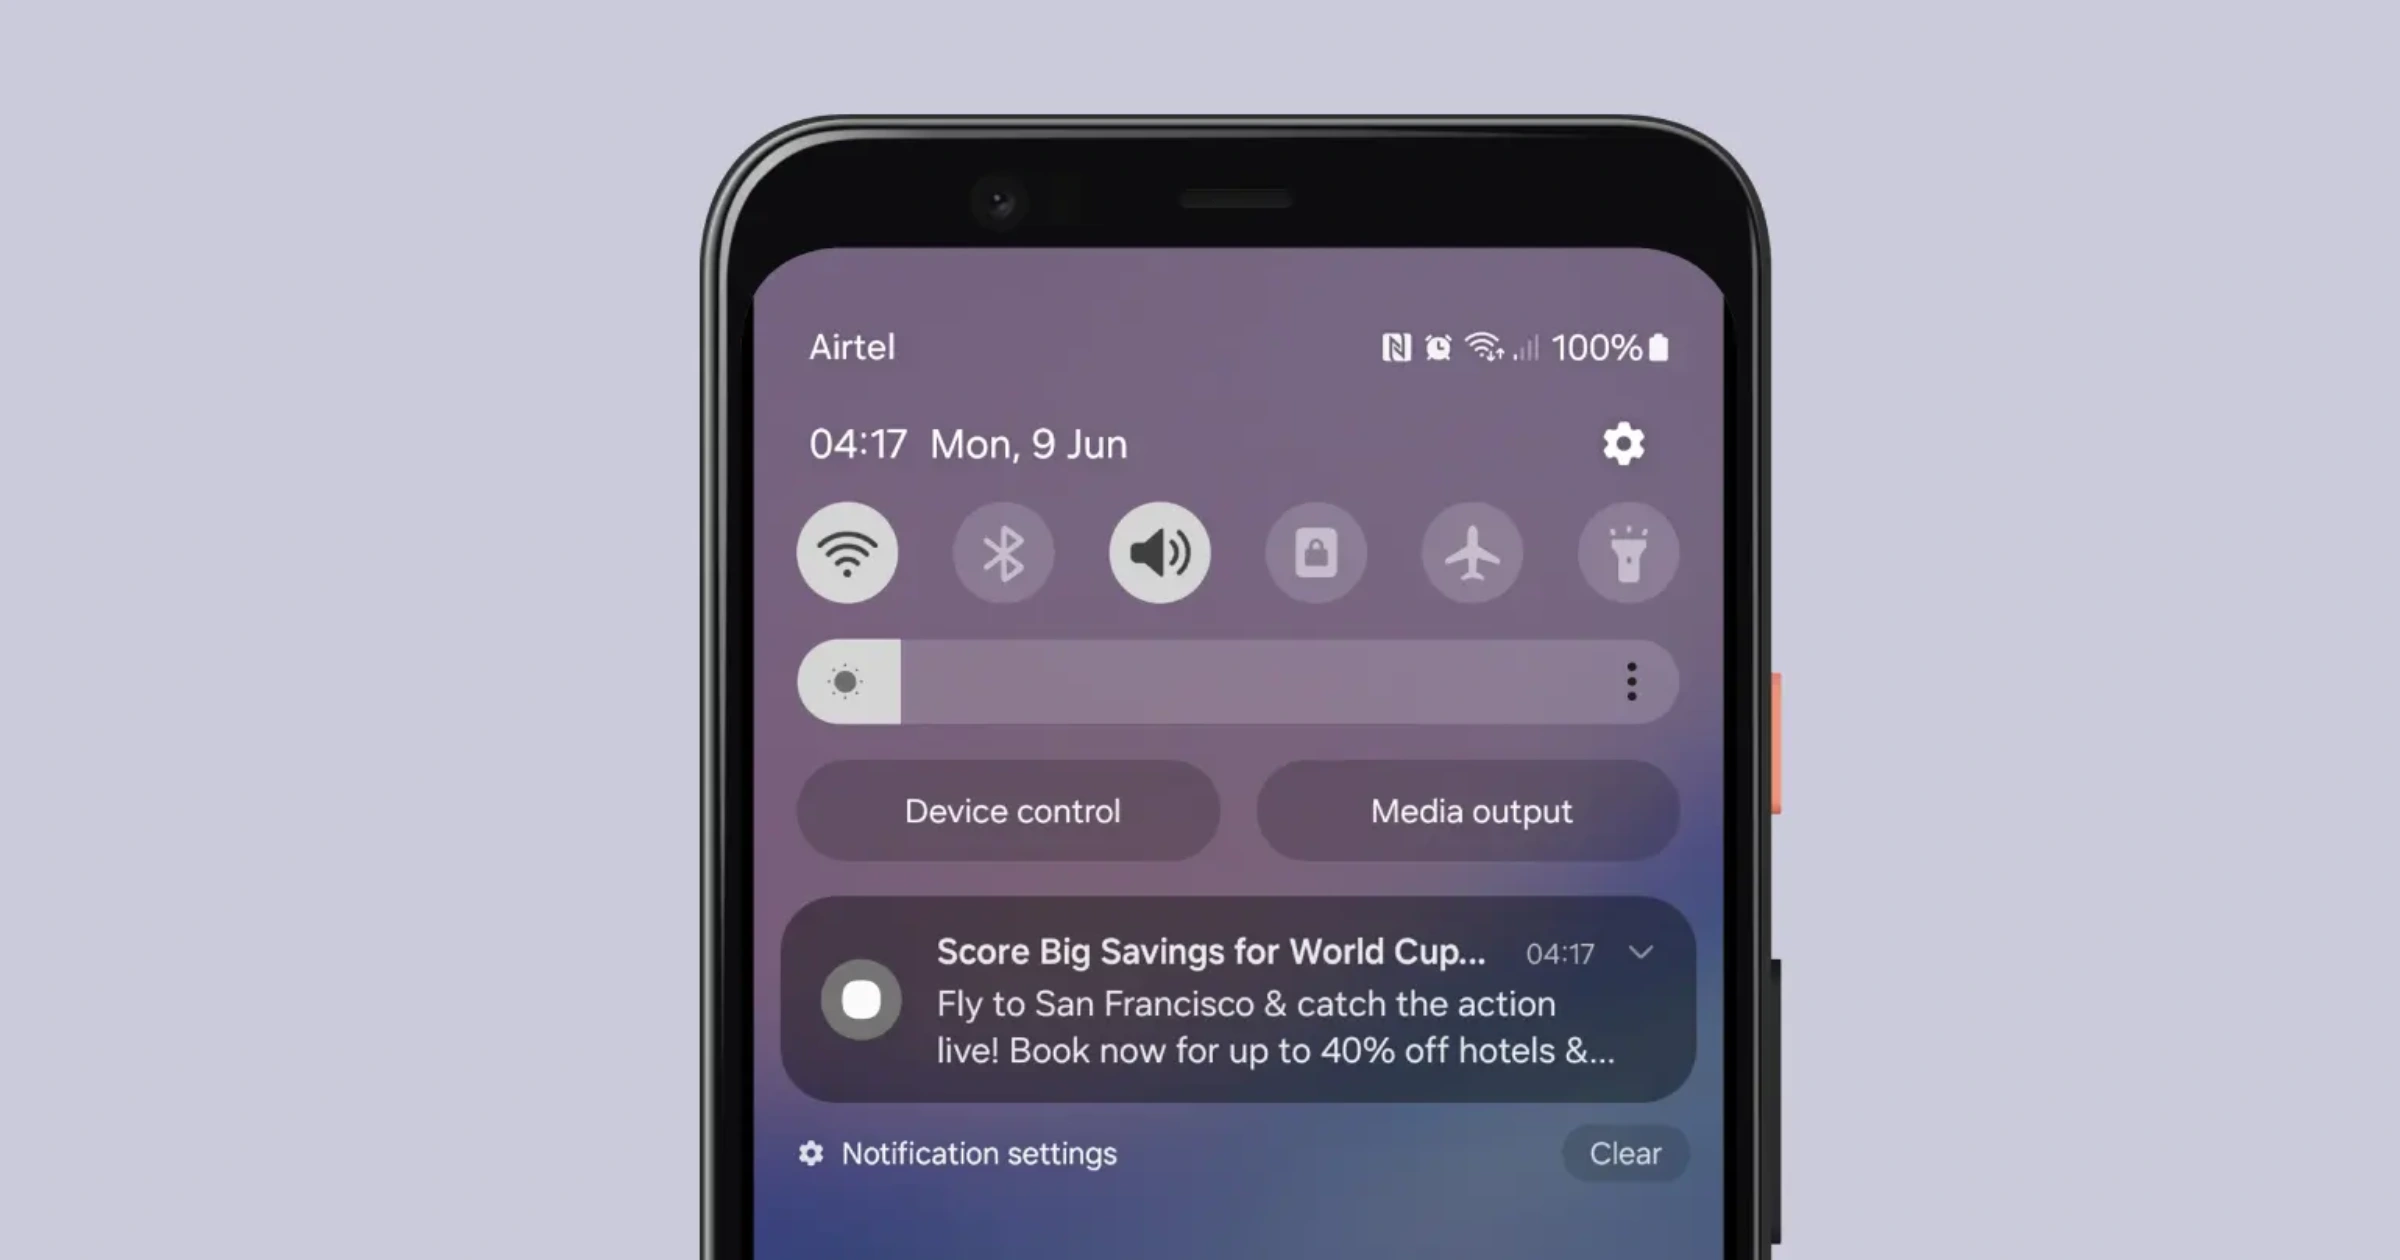
A push notification is a short message sent from a server to a mobile device. Unlike in-app messages, push notifications can appear on the user’s lock screen, notification tray, or banner alerts, making them ideal for capturing attention.
Common use cases include:
- Announcing new features or updates
- Sending personalized offers or promotions
- Reminding users about incomplete actions (like abandoned carts)
- Delivering real-time alerts such as news or chat messages
How Push Notifications Work in Expo
With Expo, you don’t need to write native code to get started. Expo provides an easy-to-use push notification service:
- Device Registration – Your app requests permission from the user to send notifications. If granted, Expo generates a unique push token for that device.
- Sending a Notification – Your backend server (or a third-party service) uses the Expo Push API to send a message to the user’s token.
- Delivery to Device – Expo routes the notification through Apple Push Notification Service (APNs) or Firebase Cloud Messaging (FCM) to reach the user’s device.
- Collecting delivery report - Expo create push ticket for each pushed notification, you use that ticket to get delivery receipt information.
Device Registration
Before you can send push notifications, your app needs to register the device and request the user’s permission. Once granted, Expo generates a unique push token for that device. This token is like an address—you’ll use it later when sending notifications.
Expo provides expo-notification package to manage notification permissions, register device with push token, listen and display notifications.
After registering device, Expo notification package return push token which you save in your database as part of user profile information, you use that token in future when you are pushing that specific device.
/**
 * Install expo-notifications and expo-device package and configure your project
 * for push notification.
 * @see - https://docs.expo.dev/versions/latest/sdk/notifications/
 */
import * as Notifications from "expo-notifications";
import * as Device from "expo-device";
import { Platform } from "react-native";

// Function to register for push notifications
export async function registerForPushNotificationsAsync() {
  let token;

  // Check if the device supports push notifications
  if (Device.isDevice) {
    // Ask the user for permission
    const { status: existingStatus } =
      await Notifications.getPermissionsAsync();
    let finalStatus = existingStatus;

    if (existingStatus !== "granted") {
      const { status } = await Notifications.requestPermissionsAsync();
      finalStatus = status;
    }

    // If permission denied, exit early
    if (finalStatus !== "granted") {
      alert("Failed to get push token for notifications!");
      return;
    }

    // Get the Expo push token
    token = (await Notifications.getExpoPushTokenAsync()).data;
    console.log("Expo Push Token:", token);
    // This token should be saved in database for future use.
  } else {
    alert("Must use physical device for Push Notifications");
  }

  // For Android, you also need a channel to handle notifications
  if (Platform.OS === "android") {
    await Notifications.setNotificationChannelAsync("default", {
      name: "default",
      importance: Notifications.AndroidImportance.MAX,
      vibrationPattern: [0, 250, 250, 250],
      lightColor: "#FF231F7C",
    });
  }

  return token;
}
Sending a Notification
Once you have collected push tokens from your users, you can send notifications to them using the Expo Push API. This API acts as a gateway, routing your messages to either Apple (APNs) or Google (FCM) depending on the device.
Here’s a simple example using Node.js and fetch to send a notification:
// expoPushToken should be retrieve from your database
async function sendPushNotification(expoPushToken) {
  const message = {
    to: expoPushToken,
    sound: "default",
    title: "Hello from Expo 👋",
    body: "This is a test notification sent via Expo Push API!",
    data: { someData: "goes here" },
  };

  try {
    const response = await fetch("https://exp.host/--/api/v2/push/send", {
      method: "POST",
      headers: {
        Accept: "application/json",
        "Accept-encoding": "gzip, deflate",
        "Content-Type": "application/json",
      },
      body: JSON.stringify(message),
    });

    const pushTickets = await response.json();

    /* Save push token in your database and  it will be used later
    * for retrieving  delivery report.
    t*/
  } catch (error) {
    /* Log error - You can use remote logging service like Sentry*/
    console.error(error);
  }
}

// Example usage
sendPushNotification("ExponentPushToken[xxxxxxxxxxxxxxxxxxxxxx]");Delivery to Device
After you send a notification through the Expo Push API, Expo takes care of routing it to the correct platform service. You don’t have to deal with Apple or Google directly — Expo handles that complexity for you.
Here’s what happens step by step:
- Send push request from your server to Expo Push API
You send a request containing the push token and message payload to
https://exp.host/--/api/v2/push/send- Expo send push request to correspond push provider (FCM or APN)
Expo validates the token, processes the payload, and forwards it to the correct provider:
- APNs (Apple Push Notification Service) for iOS devices
- FCM (Firebase Cloud Messaging) for Android devices
- Push provider deliver notification to target device
Apple or Google handle the actual delivery. They ensure the message is queued and pushed to the right device, even if the app is closed.
- Notification Appears
- On iOS, the notification can show as a banner, alert, or lock screen message depending on user settings.
- On Android, it appears in the notification tray, possibly with sound, vibration, or a badge count if you’ve configured it.
- User Interaction
If the user taps the notification, your app opens, and you can handle any additional logic (e.g., deep linking to a specific screen).
Collecting Delivery Reports
When you send notifications through Expo, the API doesn’t just fire and forget. It gives you delivery receipts that tell you whether your notification was successfully handed off to Apple (APNs) or Google (FCM), or if something went wrong (like an invalid token).
-
Send the Notification
When you make a request to the Expo Push API, it responds with a ticket.
{
  "data": {
    "id": "f33a9f4e-71f5-45c2-9dcd-1234567890ab"
  }
}
This id is a reference you can later use to check the delivery status.
- Check the Receipt
After a short delay (a few seconds), you can query the receipts endpoint with the IDs you collected:
POST https://exp.host/--/api/v2/push/getReceiptswith body:
{
  "ids": ["f33a9f4e-71f5-45c2-9dcd-1234567890ab"]
}- Read the Status
Example response:
{
  "data": {
    "f33a9f4e-71f5-45c2-9dcd-1234567890ab": {
      "status": "ok"
    }
  }
}
Or if there was a problem:
{
  "data": {
    "f33a9f4e-71f5-45c2-9dcd-1234567890ab": {
      "status": "error",
      "message": "The recipient device is not registered with FCM",
      "details": {
        "error": "DeviceNotRegistered"
      }
    }
  }
}
If a push receipt shows a DeviceNotRegistered error, you should remove the push token and ask the user to subscribe again. This usually means the user has uninstalled your app on that device. Keep in mind, sending notifications to devices that are no longer registered may cause APNs or FCM to flag your app as spam.
Final Thought
When used effectively, push notifications provide a simple way to engage users—whether for transactional updates like payments or reservations, or for sharing the latest promotions.
At Pushbase, we offer a unified push notification service that manages device registration, audience segmentation, message sending and scheduling, automatic deep linking, delivery tracking, and more—all in one platform.